Showing posts with label quilt. Show all posts

Sunday, January 21, 2018

retreat report card

I feel the need to share my accomplishments from my 4 1/2 days of sewing with friends, Nancy and Leisl.  We stayed in a condo at Christmas Mountain Village in the Wisconsin Dells area.  It's a timeshare unit that I was able to use, and it was a 3 bedroom which was a real treat because usually I can only find a 2 bedroom for us.  This was great, we had a whole spare kitchen and living area for stacking all our stuff!
I'll try to follow the order that I posted on my previous blogpost.
First was the Village.  I did sew together all the houses that I had planned and cut fabrics for.  So now with the few I already had done, I'm starting to get a little neighborhood!
Next was the Scrap Hap quilt but it didn't even come out of the box.  I felt kind of bad for it, but it just wasn't meant to be worked on this time!

After that, I showed you the Alphabet Soup book that I wanted to try.  I did get the 3 letters done, which was my goal.  Each still needs to be framed up and finished into a pillow top.  It took some concentration to use the 2 rulers correctly.

I didn't take a picture of my zigzag triangle blocks.  I sewed some more together, and I'm realizing that they are bigger than I envisioned somehow.  I may have more than I need!

The little Travel Case is nearly done, I did get the ribbons all sewn in place and just have a few seams left to finish.  I also wanted to change the closure from velcro (called for in the pattern) to invisible magnetic closure so that took some figuring for placement, etc.

I did make the little Quiltsmart crossbody clutch, and used a purchased handle instead of the cord that the pattern called for.  Nancy modeled it for a picture, but I'm not sharing that one because she may not appreciate sharing her bathrobe fashion statement!

Here's the Alligator Alley quilt top all finished, I like it!  It really went together well.  As I said before, this will be given to my littlest grandson, Leo.  He's 10 months old, and I just got done visiting the family in North Carolina.  He's on the brink of crawling, and we did some work to get the house childproofed again.  Probably the biggest challenge now is the fact that his 2 older brothers need constant reminders to put away the legos and tiny toys and bunchems when Leo is in the room.


I skipped working on Bridget's Bagettes, but I did make the Hang Ons from the Lazy Girl pattern.  They would hook on a doorknob for keys, by an outlet for charging phones, from a Command hook for storing any little thing.

I also finished this Sew Together zipper bag to give to my mom.  In fact, I just wrapped it up for mailing tonight.  Posed in front of the bag is my very handy new travel wine glass!  It's the Corkcicle Unicorn Magic stemless metal beverage container.  It's sparkly!  If you go to their website, they are out of stock.  But if you check on Amazon or elsewhere, they can be found.  Dan gave it to me for Christmas specifically for retreats.  How thoughtful is that!  I think he knows that there has been a spill incident that resulted in wine in the bobbin area, which isn't easy to clean out!  It's now quilter approved!

Here are a couple of things that I did do on retreat but weren't listed on my preparation list.
I made 2 little "busy bags" for grandsons to try out.  There is an assortment of little objects surrounded by plastic pellets.  Through the vinyl window, they can find things.  Might be good for travel, I hope.


 And below are parts of 2 different quilts.  On the left is Nancy's start on an Edyta Star pattern.  On the right are blocks I made for a quilt but can't remember the name.  I'll look it up.  It uses a jelly roll (2 1/2" strips) which is a timesaver for cutting.


I had to leave Nancy and Leisl at the condo so I could drive home and catch our flight the next morning to Charleston, SC.  I hated leaving early, but I loved getting to see Brita, Ben, Ian, Jack and Leo!  I also hated the drive back home because there was new snow and bad road conditions on I-94 most of the way.  It took forever to get home, speeds on the interstate were only 40-45 in some areas.  I was so glad to pull into our driveway!

Thursday, January 4, 2018

retreat prep

I'm going with friends on a quilting retreat on Sunday, and I've been planning what to take along to work on during the 4 days I'm there.  Some new things, some old things.  It does take some planning so I have the correct fabric, specialty rulers, threads in the right colors, zippers, interfacing, hardware for bags, etc., etc.  It's not a chore to me, I like it as long as I have the time for it.

So this was going to be a post about what I'm taking along and how I get it ready.  The first project is something I started working on last spring at another retreat.  I sewn all the blocks, they were made with a package of hexagon pre-cuts from Moda in solids.  I had even sewn the first 2 vertical rows together.  And last weekend, when I was starting to sort my retreat projects, this was on top of the pile.  So, instead of putting it in the "to go" pile, I snuck in a few minutes of sewing time here and there.  And voila, it's all sewn up!  I've really been missing the opportunities to get some dedicated sewing time.  I've been involved with more things at Bear Patch, which means less time at home.  And then, there have been some travels, too, which always puts some things on hold at home.  But it looks like the new year is starting out right! 


I think this pattern might be available on Moda's Bakeshop webpage.
It was an insert with the pack of hexagons I used.
Now, on to the retreat packing!  I do a lot of preparation at home whenever I can, so the cutting is out of the way for the most part.  I use a couple of ways to store these things.  I have some of the large flat project boxes with the hinged lid, about 12" or so.  Those are good for some things, depending on circumstances like size.  Otherwise, I rely on my good ole' ziplocks.

This is a Miss Rosie pattern called Village.  It's all colors of houses, and I've been thinking about making this for awhile.  I've managed to construct a half dozen houses so far, and did the cutting for another 12.  They are all pinned into little bundles so my sorting of colors and sizes of everything stays together.  


This is an ongoing quilt that I am about half done with.  It's my own pattern, Scrap Hap, and I originally made it from batik fabrics.  Then, when I taught a class for it at Bear Patch, I sewed up some sample blocks for demonstration purposes.  I just used some various fabrics from my stash.  After completing the class, I decided to hang onto the sample blocks and keep adding to them.  So this often goes along on sewing trips.  It's about half done.  I use the grid on paper to lay out the fabric placement, and because each block has a different color of logs on all 4 sides, which have to be matched up to the same colors in the adjacent blocks.  The strips are 3/4 inch wide after sewing.


My sorting for the colors for the next row.


I've wanted to try out this book to make letters, so I have the idea to just start with I, J and L for my grandsons.  If it's a success, I could add on the other letters of their names, which are wonderfully short!  It requires 2 specialty rulers, which I hope have arrived at Bear Patch by now.  They're called the Hex 'n More and the Super Sidekick.


Here's another project that travels with me to retreats, and it's just something I designed on EQ7.  It's all half square triangles.  I'm using all solids, and you can see below that I like to use triangle papers.  When I want quite a few matching blocks, this is the way to go.  I have some baggies of triangles all ready to be sewn into bigger blocks, too.


This little project is something I'm making for a Bear Patch retreat.  It's a pattern that I used a long time ago, but unearthed once again to offer as a make-and-take project for retreaters.  I have the pieces cut and interfacing in place, now I just have to do the ribbon embellishment and sew the whole works together.


Here's another little bag for the store display.  It's a Quiltsmart pattern, and is printed on fusible interfacing that is sewn into the bag.  It's just a little bigger than a cell phone, and you can put a cross-body or wristlet strap on it.  I've used other Quiltsmart patterns so I know the process used.


And this quilt is all cut out and ready to sew up.  I have construction themed fabrics so this will be something for little Leo to crawl around with.  The 60 degree triangle ruler made the cutting so easy!


And I still have a few Bridget's Bagettes prepped from a couple years ago when I couldn't stop making these!  I have the fabric all cut and fused to interfacing, clear vinyl cut and ready, zippers and threads color-coordinated.

Another little sorta' bag that I'm testing out, a pattern called Hang On from Lazy Girl.  Fabric and interfacing and threads all picked out and packaged to go.


Lastly, at least for today, is the pieces to make another Sew Together bag.  This will be my third, so it should be quick!  In the second picture below you can see one that I've finished.  It has 3 zipper compartments inside.  Interfacing, zippers, threads, lining, etc., all ready to go.  The fabric on the left is going to be the outside of the bag.  My mom got it on one of their trips in a Central American country, and I would like this bag to go to her when I finish.


There might still be more additions to this list, especially since I have next Saturday at home before leaving on Sunday for the retreat.  I might complete something else before I even leave, and pull in one of the 2 patterns for totebags that I want to make!

Wednesday, January 3, 2018

the hand quilting frame-up

When Bob and I were visiting my mom for Christmas, we got to help her set up and mount a new quilt on the frame for hand quilting.  This is going to be a "big boy" quilt for Jack, who is now 3.  It's larger than a standard queen, so she needed new poles that were longer.  They are standard bannister railings from the lumber yard.  
I'll see if I can kind of lay this out in steps for you.  You don't find instructions for this sort of thing very often, she does it all by memory from years ago when her mom did quilting on a frame similar to this.


1.  The backing, batting and quilt top were all laid out smooth and flat on the floor.  We put some pins through the backing into the carpet to help hold it in place and try to prevent it shifting and causing wrinkles. 
2.  We used lots of safety pins to secure the 3 layers together all over the quilt, about 6-8 inches apart.  It's important to get all the way through to the backing fabric but not attach it to the carpet!
4.  Mom had prepared the fabric for the leaders - strips stapled to the wooden poles which then serve as the way to attach the quilt to the poles.  She used a strip of fabric from a sheet, I think about 4" wide and pressed in half.  The cut edges are stapled down, leaving the folded edge for the quilt to be pinned to.  You have to make sure that the strip is real straight on the pole, and this is one reason the hand rails work great.  They have one flattened surface, and we used that as a landmark to keep it straight.  I think this part was the hardest, even with a very good staple gun it was easy to get them only partially punched in.  I'm really glad Bob was handy to help with that.


5.  After the fabric was attached to the poles, we laid the pole on the floor by the quilt.  The backing was just barely big enough on this quilt, but we made it work.  We aligned the raw edge of the quilt top with the stapled edge, then safety pinned through the layers into the leader strip on the pole.  This has to be attached with safety pins only a few inches apart, to keep it from having too much stress or stretch at any one spot.


6.  Repeat the same process with the pole and stapling and pinning on the opposite end of the quilt.
7.  We had 2 people rolling the quilt onto a pole with the other person holding the opposite end to keep it a little bit taut, but not too much.  The rollers have to go slowly and make sure it is staying straight and even as they go.


8.  The 2 poles are then lifted up and someone has to hold them while another person lines up the "legs" of the frame.  The legs are kind of like a cross with a wider base.  The cross piece of wood has openings for the hand rails to be slid into at each end. 

9.  After the quilt is in place and the frame is supporting itself, there are large screws (the thing with the metal ring in the closest part of the picture above) that are tightened up.  This keeps the poles from rolling while the quilting of a section is done.  Then they can be loosened to advance the quilt and roll it around the second pole.  Eventually, the whole quilt gets rolled onto the second pole as the work progresses.  In the picture below, mom uses a screwdriver through the ring to get it good and tight.  I forgot to mention that she also places wooden wedges with the pole into the hole to get it tight.  She taps those in with her pliers.

10.  You can probably see in the picture below that there are some rubber bands laced around little pegs on the top side of the cross piece.  She uses them hooked over safety pins in the edge of the quilt to keep it taut while she's working in that area.  Also, you can see part of the tilting mechanism that allows her to tip the quilt top at an angle to work on it more comfortably.  She listens to a lot of recorded books from the library while she stitches.  She's had some shoulder pain this fall, and has had to sometimes limit the amount of time she can stitch so it doesn't get worse.


So that's pretty much all I know about using a hand quilting frame and how to get a quilt mounted on it.  Now comes the real art of hand quilting!

Friday, August 11, 2017

bits & pieces

I'm having a cactus moment!
This plant has been living with us for over 2 years.
It showed no growth at all.
I thought it might be dead, I couldn't really tell if it was growing or had become petrified.  Not petrified as in scared, petrified as in dead and turning to rock!  Still, I watered it, wiped off the cobwebs, kept it in a sunny spot, and figured that even if it was going to die, it was a unique specimen.  Then, I started noticing something funny going on up on top.
Now it is sprouting out little clubby branches!
So we'll have to watch and see what takes shape!


Last night my quilt group, Ham Lake Piecemakers, had our summer picnic/party at the home of one of our members, Nancy.  After our potluck feast, we had a little socializing and show-and-tell.
Maggie showed this quilt, just back from the longarm quilter, Dawn.
It's a pleasure to see one of my patterns all sewn up by someone other than me!
This pattern is Connections and I think it was from 2015 for Quilt MN.


Yesterday also brought some work in our garden, and picking more green beans.
A few had been allowed to grow past their prime!  I much prefer them at a smaller, more tender age!


Friday, June 16, 2017

Minnesota Quilters' Annual Show

I had missed out on going to the MN Quilters' show for several years, but last Thursday I had a perfect chance to go with some friends to Duluth for the day.  
The quilts I am showing have a very distinct theme--scraps!
They also are quilts that are one-of-a-kind, in most cases.  
Maybe they will inspire me, or you, or anyone watching, to dig into those scraps or bits and pieces of fabric that just really need a home in a quilt.


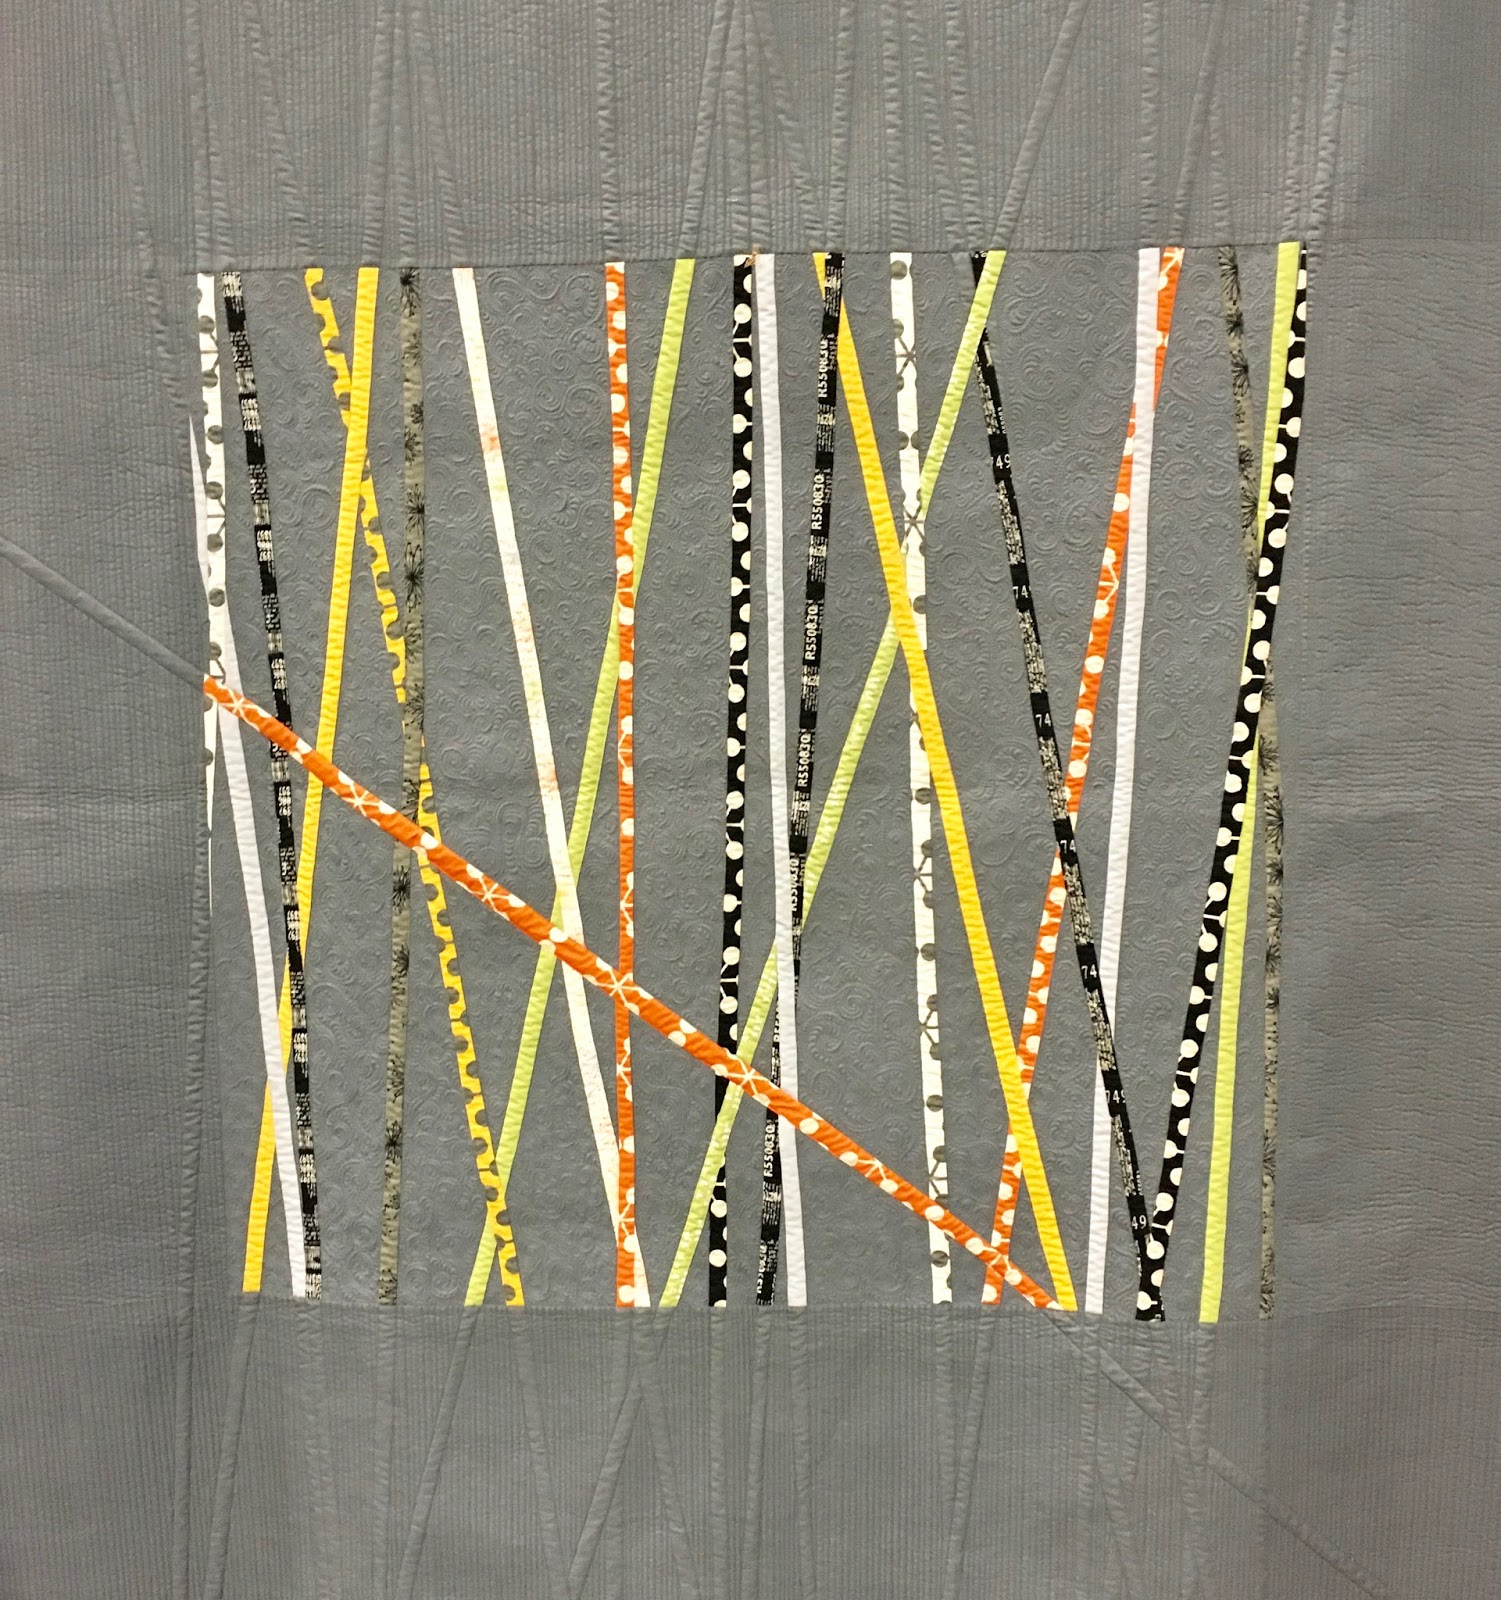
This is a small section of a quilt with an overall neutral tone effect.
Mostly beige/tan/gray with random slivers of colors.
Then all heavily hand quilted!  It was striking!

Here are some blocks that we use in many quilts,
so there's nothing technically difficult about this one.
But the overall combination really creates a textured look.

This is a pattern I have seen before but I can't find the name.
I know it is by Brigitte Heitland, designer of Zen Chic fabrics and patterns for Moda.
She designs some great "modern" or contemporary quilts.

I loved this version of a different layout for scrappiness.

This pattern is apparently well-loved, because I saw it more than once in the show.  The quilting is shown in better detail below, and was done by Karen McTavish.  She had the honor of being "MN Quilter of the Year", and had a great exhibit of her work.  She is a very talented and innovative machine quilter, who teaches worldwide and has published several books.  She is from Duluth, and has a studio/store there for classes and use of her longarm machines.
Karen's name has been given to a specific quilting style, McTavishing.  It's the echoed circles and swirls shown in one section above, and makes for a great background texture.  I've taken a class from her and applied the technique to some of my own quilting, although not in the teeny tiny scale shown here!


Here's a design I've seen many times in quilts,
but this just popped out at me as something I would like to make.

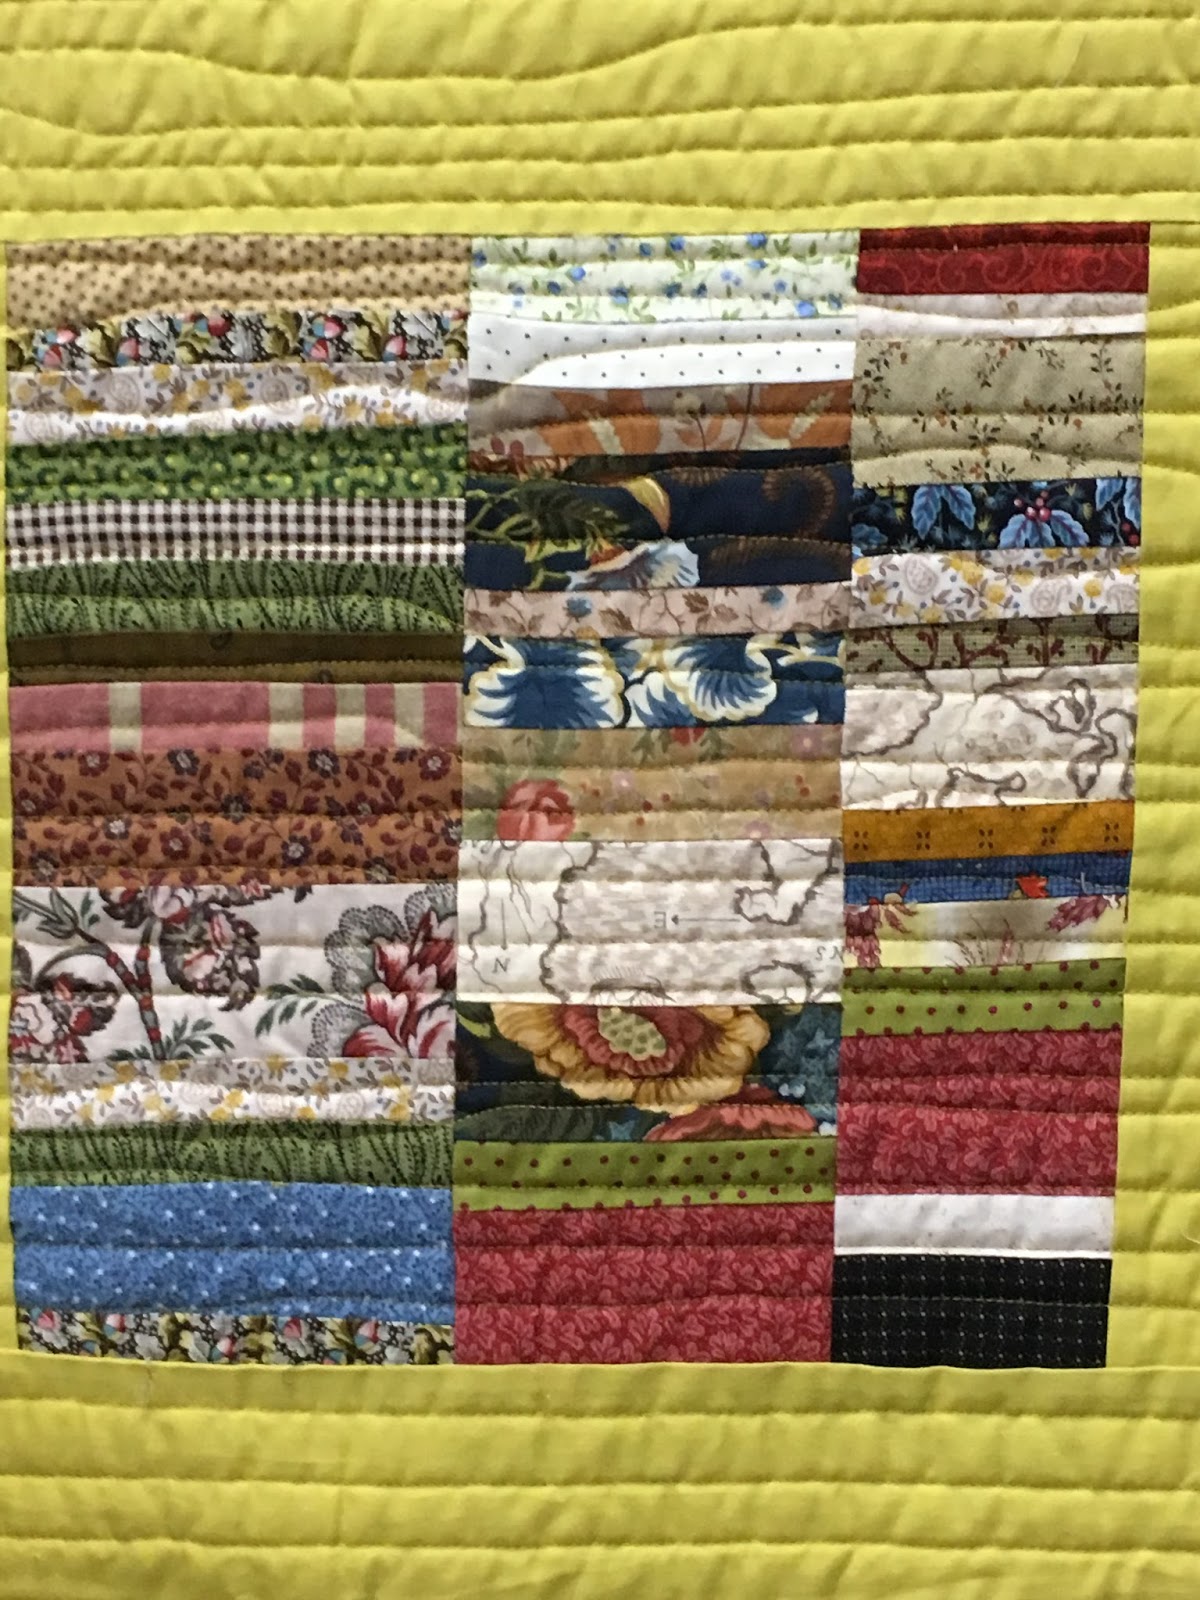
Again, back to the scraps!  I've included this quilt especially to show
the straight-line quilting that doesn't have to always be straight to look great!
Random sizes of strips sewn into groups, then chopped up in sections combine
to make a design-it-yourself quilt!
Notice that seams don't need to be aligned and sections are different sizes.
So much freedom!

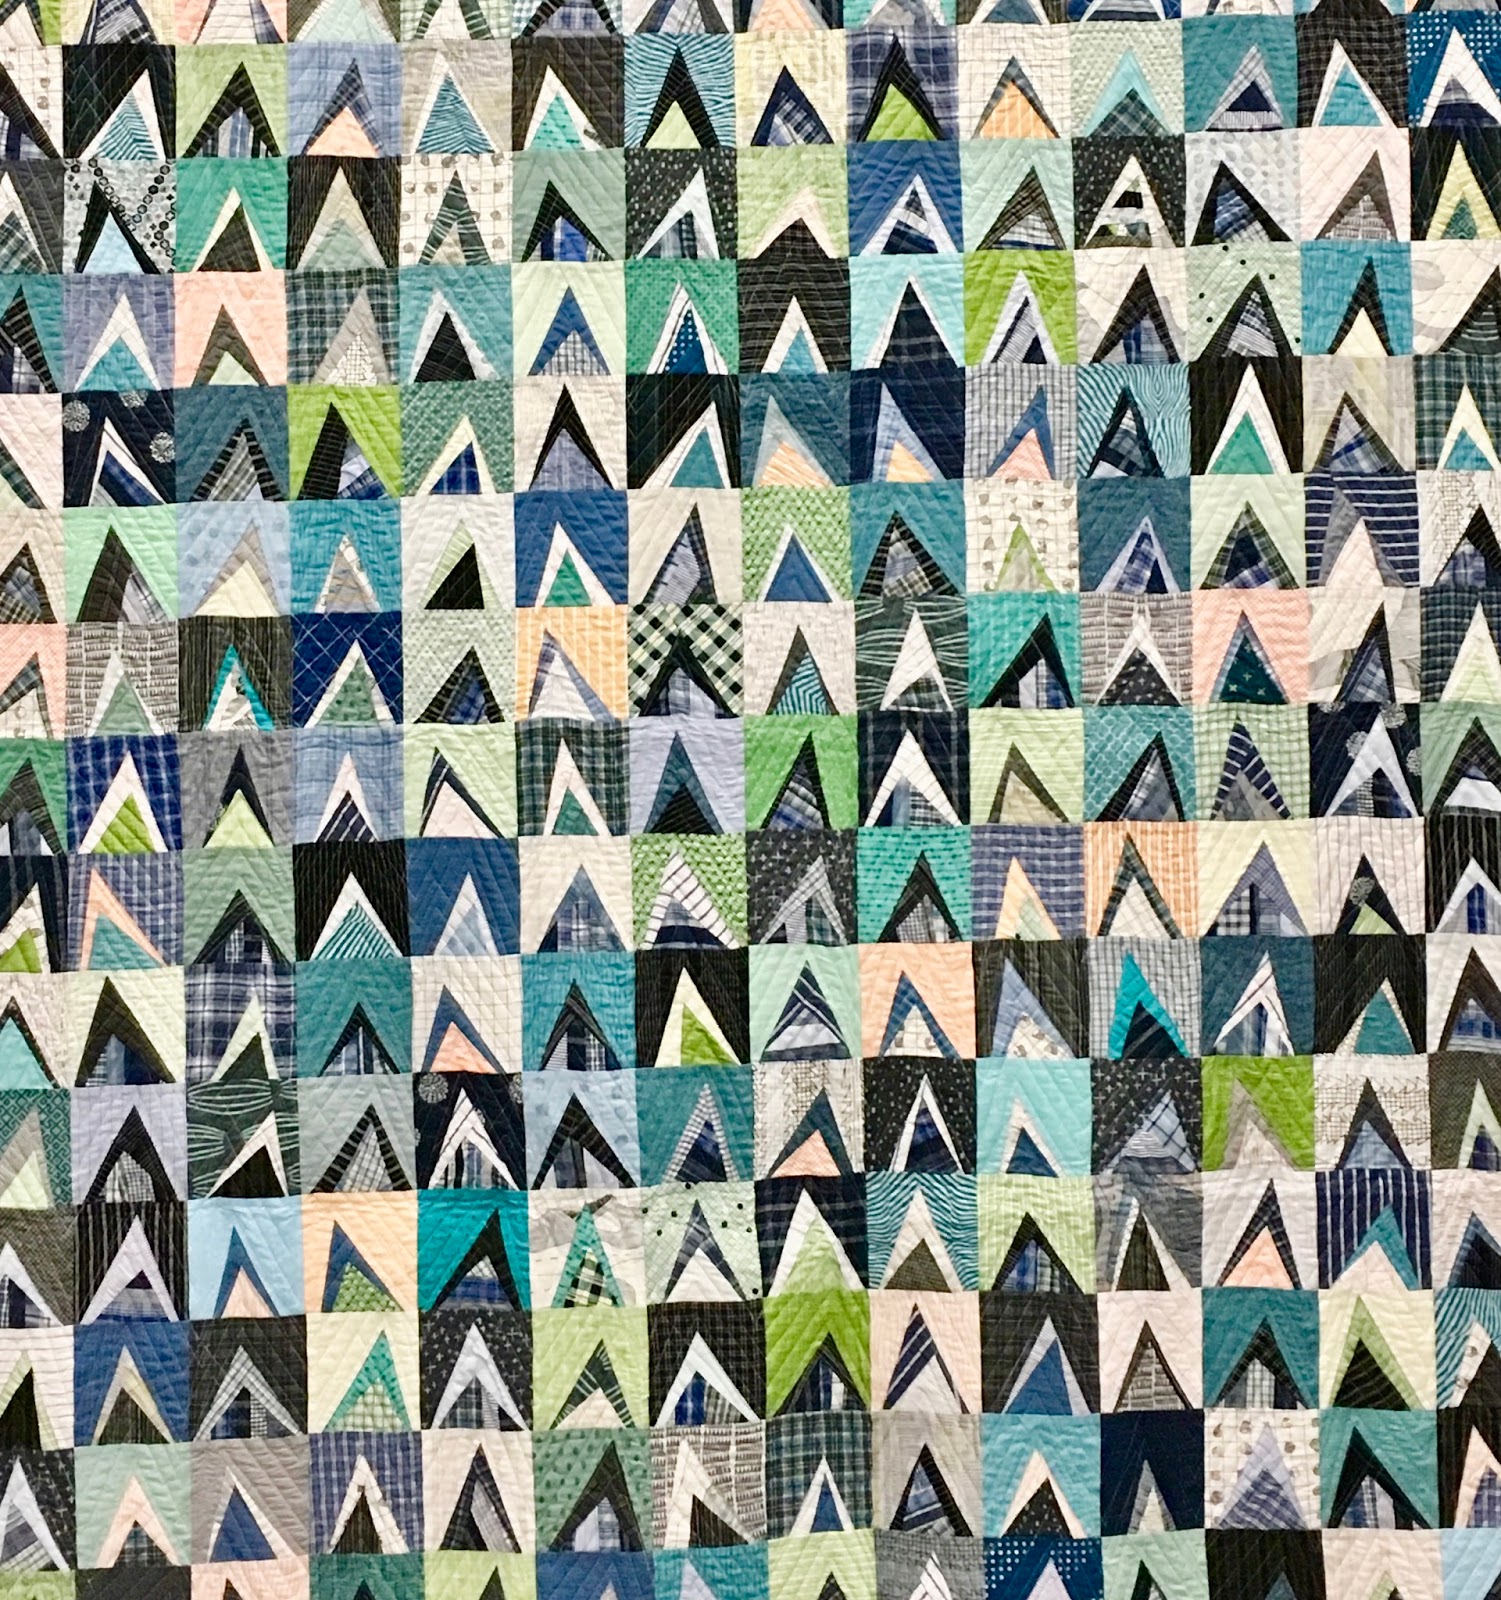
Improvisational triangles trimmed to make squares of one size give this quilt a
much more organized look, but still allowing for lots of
freedom in fabric choices and piecing angles.
The quilt info said that many of the fabrics came from mens' shirts.

 And lastly, below, a luminescent quilt that seemed to glow!
I had to get up close because I thought it was all painted, 
but, in fact, it's all fabric pieces appliqued onto the black background.  
It had an eye-catching result.
A work of art!


There are also a lot of shopping opportunities at a show like this.  I guess having worked quite a few years in a quilt shop makes me a poor consumer when I go to the vendors' booths, because if I see something I like I can make a note and then order it for Bear Patch.  I ended up buying only 1 pattern, but I had my hands on a couple of different quilt kits that were tempting.  I reached into my fortitude and resisted!  Maybe I'm actually understanding that I have more than enough fabric and patterns to last my lifetime already!  But I do appreciate all the hard work that goes into setting up and running a booth at a show.  I've done that a couple times for the store, and it is no picnic!

I hope you've enjoyed the quilts, and I wish I could provide more information on designers, patterns, maker, etc., for them.  It was a fun field trip, and I thank Jean and Mary for doing the driving for our group!  It was a pleasure to ride with you!

Wednesday, April 26, 2017

project report

Even though I haven't shown much proof here on the blog, I really have been continuously sewing and quilting and knitting behind the scenes.  It kind of goes in little bursts and doesn't feel like I get much traction on any one project when there are too many in the works.  But here's some updates!

This lacy scarf is a long overdue completion, using a very special yarn.  It's called Quiviuk and it was a gift from my son, Dan, as a souvenir from a trip to Alaska.  What a great son, on his business trip and he finds yarn for me!
This has had some starts and stops since I first posted about it in 2012.  Sometimes it's like that.  I was frustrated with the pattern I was working on then, and I unravelled it and tried a couple other patterns before landing on this one.  A simpler lace.  I knew I would make something lacy with it for a couple reasons.  It would stretch the little pack of yarn further, with the open stitches.  And it is so lightweight, it feels like a feather, and will be fine for a simple dress-up for a shirt or dress.  And won't be overly warm!  I love the way it turned out!
I don't actually remember where I found the directions for this stitch pattern, but it's pretty simple and therefore, easy to pick up and put down on short notice.  Here's the stitch pattern:
K4, (YO, K2tog, K2) repeat between () across the width of the scarf.
I cast on 28 or 32 stitches (can't remember which), it just has to be a multiple of 4.
Knit 2 rows at the beginning and before cast off.

 And another knit that I hope is quick:

A simple little baby hat that with a little luck will be done in time for a Saturday baby shower to go along with this blankie--

 My niece, Nora, and her husband, Shane, are expecting their first baby, a little boy.  I get to attend the shower on Saturday back in my hometown.  This blankie was made from a square of plush double-sided cuddly fabric.  The binding is about 1" wide, and is sewn on by machine.  If you have ever tried to hand stitch a binding to plush stuff, you will understand why I chose to do this one by machine.  I think my mom sewed the binding for this when we were at a retreat last fall, before I even knew about this little baby coming our way!  It's good to plan ahead!
And a fresh finish!  The binding is done on my Mini Rings quilt and it's in the bag ready to go to Bear Patch.  It will be offered as a class this summer and on display at the store soon.

So that's all for now, folks!
And let's all sing Happy Birthday to my little sis, Jan, today!