Saturday, March 30, 2013

applique action

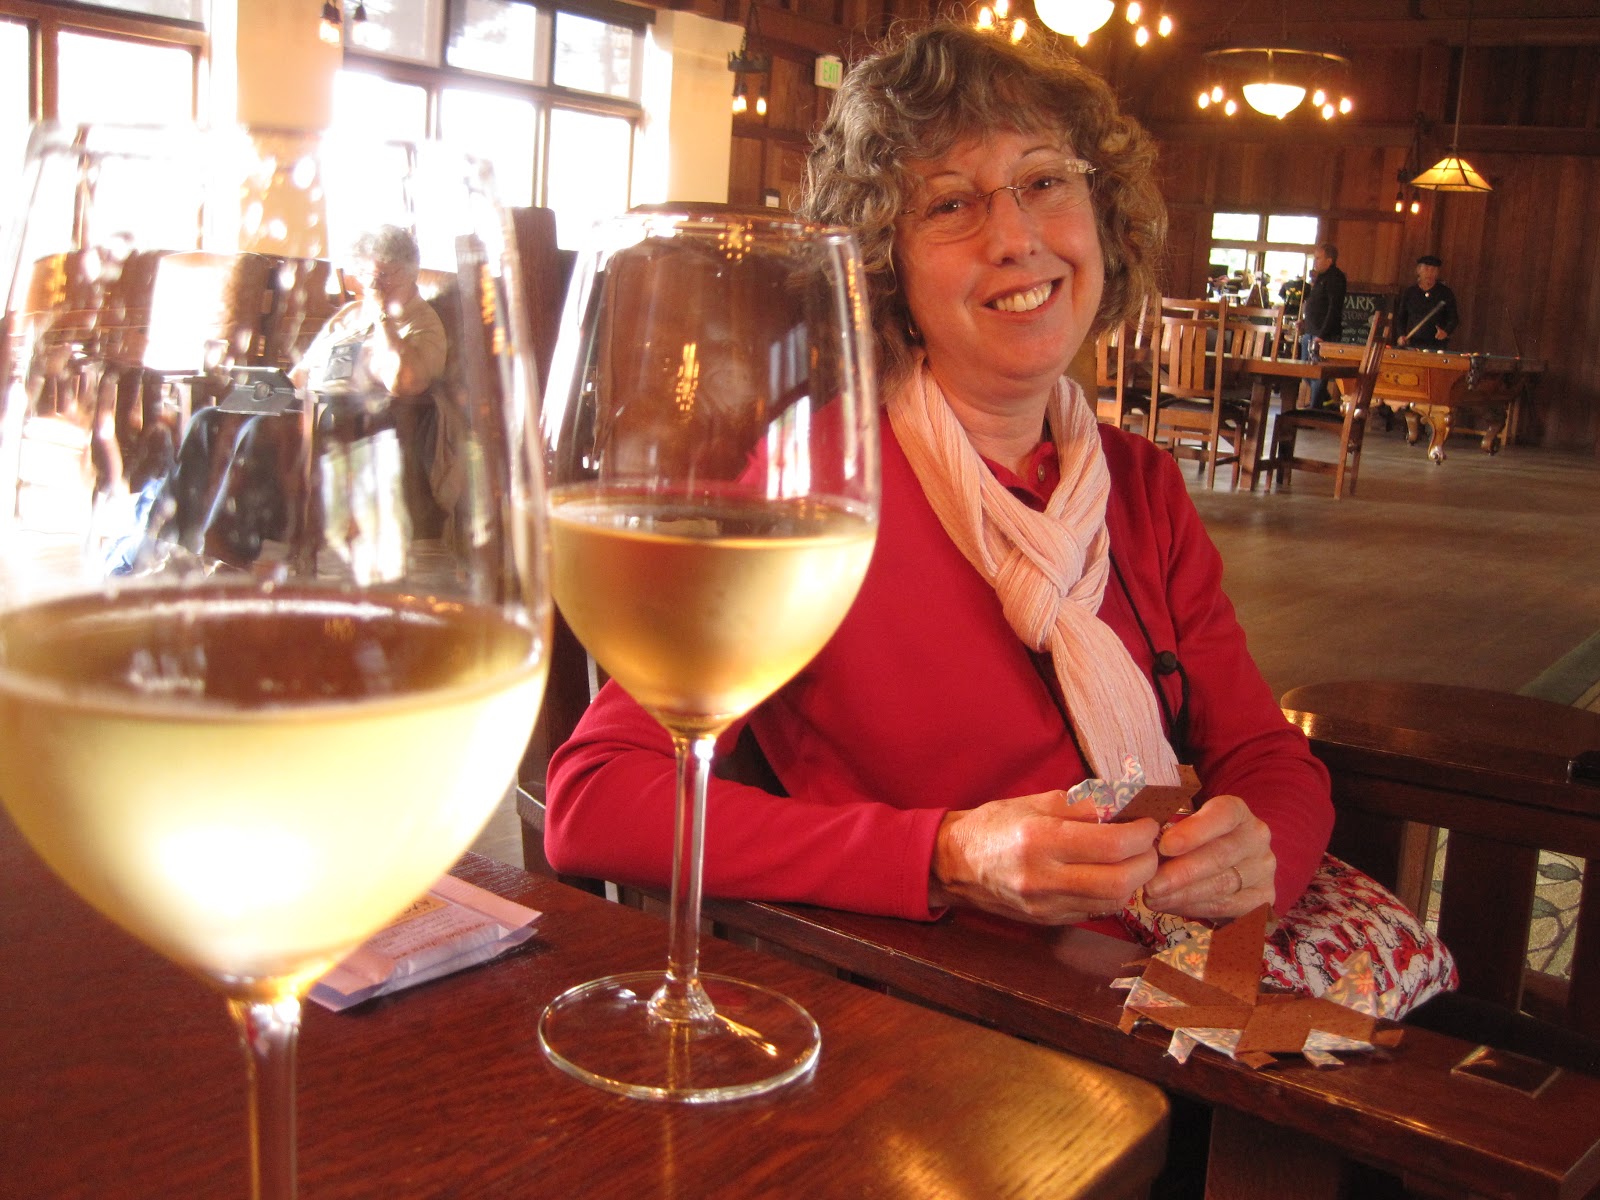
Here's an action shot of my applique stitching--

The humid ocean air means my hands
are not as dried and cracked as usual!

I know, amazing, right?  I am attaching wave crests to the background.  The light blue fabric is shaped with a layer of washaway fiber (from C&T).  The steps:  trace design from original onto tracing paper, then trace the piece you want to use onto template plastic, cut out the plastic, draw around the shape (reverse image) onto the fiber sheet, cut out the shape, fuse the fiber onto the wrong side of the applique fabric, cut out around the shape leaving ~1/8th inch seam allowance, snip seam allowance around all the curves, fold over and glue the seam allowance to the wrong side of the fiber shape, lay the shape in place on the background fabric, pin or use glue dots to hold in place until it is hand stitched with teeny tiny stitches all around.  Repeat.  This is just one of several methods of applique, this worked well for all the little bumps and lumps on these pieces.

Our teacher, Sylvia Pippen, introduced us to a new thread that turns out to be great for hand applique--


It is super fine but strong, so makes those teeny tiny stitches easier to make without them showing.
After I got 6 of the wave crests appliqued into place, I started with the sashiko embroidery on the white lines.  Yes, it is tedious, but really quite relaxing.  And easy to do while socializing with my classmates!


Below is some of the work done by others in my class--


I will have more pictures to share.  We are spending our last night here, and listening to the sound of raindrops for the first time since our arrival.  Most of the buildings on the grounds are built of stone and wood, and I think this is one of the prettiest:

Merrill Hall at Asilomar State Park

Friday, March 29, 2013

learning sashiko

Everyday life on the beach includes dogwalking, surfing.....


 and sweet little flowers that have to work really hard to survive the wind and salt.

And inside the Sophie Hearst Social Hall, all is cozy and warm--


And we are in California, after all, so there is wine. After a busy day of stitching, we need to relax and unwind!

  Yesterday afternoon is was warm and sunny, so we could sit outside on our little deck, hear the ocean waves, and enjoy the scenery.  I also stitched together 2 of my hexies:

That was before the wine!  Those little stitches would not have worked very well mixed with alcohol!

But back to our class, and the reason for being here.  Below is an example of the work of our teacher, Sylvia Pippen.  This is a fabric applique image of a tropical flower (lobster claw or something like that?) combined with the white stitching, or sashiko, in the background to resemble stems or branches.

Next is my own picture made from one of Sylvia's patterns.  It shows splashing waves with the sunset (or moonrise, depending on your perspective).  The lines of the waves are just drawn on there for now, and I will stitch them in the sashiko style like above.


I thought this would be a good remembrance of my trip to the ocean and the full moon we just had.
Jan's project is below:


Little flowers floating on what will be a stream of swirling water.  A lot of time and attention to color and detail have gone into those little flower petals!  But the effect will be a masterpiece!

Wednesday, March 27, 2013

reporting from the west coast...

 Oh, what fun to get out of the snow!  And end up with my sister, Jan, at a wonderful quilting retreat at Asilomar, just south of Monterey, CA.  Although it was an early start to the day (flight left at 6:15 am), it was worth it.  Jan picked me up at the San Francisco airport, and after some rearranging to get my big ol' suitcase wedged into her little car, we headed south on 101 to our destination.
Asilomar State Park Beach as viewed from our room.
This is a resort-like development of a State Park area that is perfect for conferences, etc.  We are part of a large group of quilting friends staying here for classes and fun for the rest of the week.  The Empty Spools Seminars have been a gathering spot for quilters for quite a few years, and Jan has attended before.  This time I get to be part of the fun!
Some of the housing and conference rooms.
We are both taking classes taught by Sylvia Pippen to learn about the Japanese art of sashiko, combined with applique.  Here is my learning sample, trying out some different threads--


Next we will be working on other designs and techniques, with the goal of creating individual wallhangings.  I have a ways to go!

And this is what happens when you run with scissors--


Poor Jan, she had a little bit of a headache.  Happy to say she is recovered already and will keep on stitchin'!  (Don't try this at home.)

Saturday, March 16, 2013

happy Saturday

It's time for brunch in the backyard!  Here are 4 of the 6 deer munching and grazing around my backyard this fine Saturday morning.  I had a good picture set for you, and just as I was ready to point and shoot something happened in the other direction.  Heads turned and legs leaped and they were moving on.  I'm glad they can find a little sheltered space to wander around during these cold months.  But come spring, I will be cursing them for chomping on my tender green shoots in the flower beds.  One thing I find amusing in my attempts to keep the deer at bay is the variety of products that claim to do this job for you.  Last spring I gave in and bought a little gizmo at the hardware store that I thought would be the answer to my problems.  It's a little black box with a small flashing red light that is supposed to deter the deer.  Well, I am sorry to say that it doesn't work.  In fact, I think it serves as a beacon to draw them in!  It runs on solar power, so even during the winter it is out there with a little red blinking light visible at night.  Really, their path passes within 3 feet of the light!  Chalk up another attempt to outsmart Mother Nature! 


Now here is something that really is smart--

 This was a Christmas gift from Debbie, and I hope she gave herself one, too.  It's sort of like a standard address book, but the entries are for websites.  There is a spot for your username and password and notes.  I'm sure you could adapt a regular address book to do the same thing.  It's easy and small and slips right in with my gear and cords and stuff when I am going places.

Yesterday I spent most of the day at the White Bear Lake Armory building, just a block from Bear Patch, for our "I Can Sleep In My Own Bed" Retreat.  Many retreats are available to quilters, and usually involve a whole weekend away at another location.  As an alternative for those who prefer the comfort of their own home and bed, we organized this day retreat sponsored by the store.  Debbie asked me to put together a project for the group, and I came up with directions for a mystery block.  This is a take-off on the mystery quilt concept, which requires that participants proceed step-by-step in blind faith that they will end up with an entire quilt.  I broke that down to a smaller scale project.  I made some adaptations to a block I had seen, broke it down into 6 steps, and had fabric kits prepared for assorted color combinations.  Here are some of them:


Everyone received the fabric and step one of the directions, then each hour I handed out another step of the directions and showed a sample of what to do.  Step #6 was the big reveal!  In addition, I had printed up several ideas for alternative fabric placement and quilt layouts, in case someone wanted to use the sample block as inspiration for an entire quilt.  I think the quilters had a good time with it.  I know I did!

Enjoy your weekend!  Bob is somewhere south of here swinging a golf club, and I am going to go out and decide if I should try to fire up the tractor snowblower to clear the 6" of new snow on the driveway, or just wait until it all melts!  I am leaning towards the latter, since I have keys to the pickup and have discovered that the 4 wheel drive makes getting up the little hill in the driveway so much easier than when I am in my car!

Monday, March 11, 2013

hello again

A week and a few days ago, I showed you what was happening on the retreat I attended and helped host.  Initially, the plan would have required much of my attention to help with the meals, preparing, serving, and clean-up.  Well, I was liberated from the role of scullery maid thanks to Debbie's very wise decision to employ a local caterer to help with most of that--wonderful!  So a few of my own desires were fulfilled and I really enjoyed my time.

I put most of my new hexie blocks up on the design wall to get an idea of how it was shaping up.  

This is such a contrast to my Civil War version:


These are all the same block designs, just a whole different world of fabrics.  I am using a different design for putting them all together, also.  In the second picture, you can see a traditional setting style with equilateral triangles inserted all around the hexagon blocks.  Well, actually, that picture mostly shows blank spaces, but you can get the idea.  For my newer version, I am using little rectangles of white as spacers between blocks, and a little bitty triangle at the corner intersections to get the spacing right.  Took me awhile to figure that one out, I didn't have any pattern to follow.  It was one of those puzzlers we all encounter, when you can picture what you want but don't know how to make it happen!  And it was one of those "Ah ha!" moments when I should have been sleeping, when it dawned on me what shapes needed to be where.  Some of the blocks in the middle of the red and blue have borders sewn on, and there are quite a few more to go.

Now on the reverse side of the sewing spectrum, I turn from tedious handwork to the marvels of computerized sewing:

 A closeup of one fourth of the block below, showing a little detail.  The block is built with applique and thread in different combinations.  The sorta light blue areas aren't fabric, it's a variegated thread on the cream background.  The light brown points with pale grey circles is another fabric.  The quilting design on the cream background is all computerized from designs by Sharon Schamber, an outstanding professional quilter whose work I have seen in shows and classes.  I've always wished I could quilt like her, and now I can!  Here's the 4 pieces laid together:

They will be joined together but I am waiting for my next class to learn the correct way to do that.

Here's a little pillow top design that I put together as a pattern and distributed at our recent Bear Patch Sew Creative Event:
Tumble Rumble by Emmaline Design

I made it with the One-derful One-Patch Tumbler Template by Marti Michel.  A very neat tool.

And here is a new pattern I have written:
Spring Fling by Emmaline Design
A computer (EQ6) rendition of it, until I get the real thing quilted and ready for a picture.  It uses the Creative Grids 2 Peaks in 1 ruler or the Tri-Recs tools.  

Our big lifetime achievement last week was the first birthday of our first grandson!  We had a little family birthday party, and were pleased that my mom and dad could join us, too.  Wonderful that Ian knows his great grands.  Poor guy wasn't quite at full steam for a couple days, because he got pinkeye for his birthday and he was kinda irritable with that.

 But itchy eyes don't stop the birthday cake!  He was fascinated by the candles, and then happy to dig into the cake and frosting!   Since he wasn't his usual smiley self, our picture below looks kind of funny, but makes a good memory of the day--

He looks kind of skeptical of Gramps, don't you think?  Well, it might be good to keep an eye on him, he has tricks up his sleeve!

Enjoy today!