Today I have been helping my mom get a quilt mounted onto her frame for hand quilting. The quilt is going to be living with Dan whenever it is finished, and I got to help with picking out the design and fabric. Dan had a say in what colors he wanted.
This morning I needed to put together the backing, and the navy blue and white fabric was what we are using. In some situations, there isn't much of a distinct design in the fabric and the seams can be made without a thought to matching pieces. But with this backing fabric, I really thought it would look so much better if it was matched both vertically and horizontally.
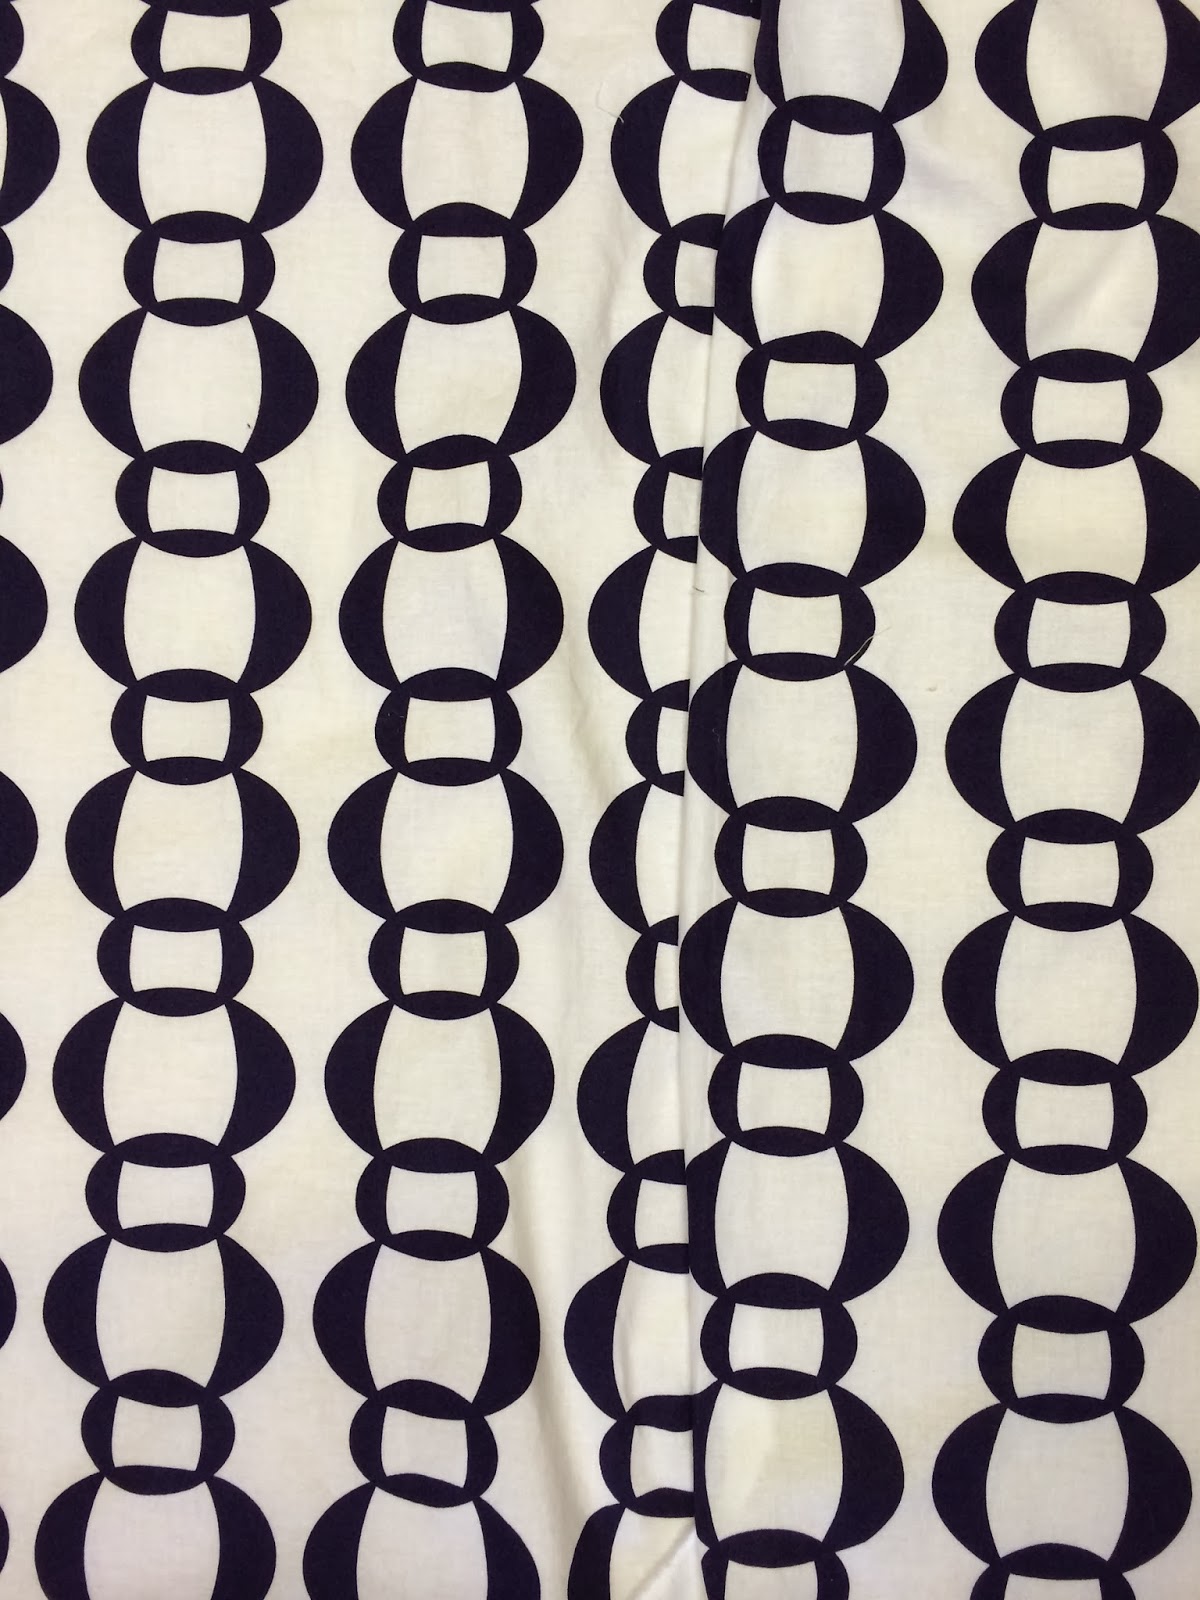
Here's an idea of how it looks without matching on the left and with matching on the right. The seam in the picture on the right is barely visible, and the piece looks like one uninterrupted piece of fabric.

The process takes a little bit longer, but it's worth it. I started out by ironing a crease where the seam will be sewn on one of the pieces. I used the edge of the small circles as my guide and pressed right at that spot along the length of the fabric. This gave me a seam allowance of about 1/2", but I didn't measure that with a ruler. I let the fabric design be my guide.

Then I laid that folded edge on the edge of the other piece of fabric to see where the seamline would fall. I lined up the circles on the piece of fabric on the right with the same circles on the fabric on the left. This gives me a match both vertically and horizontally.

You can see at the bottom of the above photo that there is going to be a jog in the edge of the fabric to get the 2 pieces to match. Only about 1" in this instance, because the design is a small repeat. If you have a fabric with a larger repeat, you could be wasting a lot more, and you have to be prepared for that. Sometimes I just don't have enough fabric to make this work, but if I am buying something for a backing and think I might want to do some matching, I will get an extra yard if possible.
With the 2 pieces right sides together, and the creased edge on top, I fold back the edge to the crease line to make sure I am matching the right spots. Then I lay the folded edge down flat and pin freely along the crease. I put my pins in vertically right on the crease, so I can lift the edge as I go and make sure things are staying where I want them.

I sew straight down that crease line, removing pins as I go. A walking foot helps to keep the top layer feeding under the presser foot in sync with the fabric next to the feed dogs.

Then all that's left is trimming and pressing! We laid out the backing, batting and quilt top on the floor and pin basted all over it. Then we pinned the top and bottom edges to the fabric headers attached to the wooden roller bars--you can see part of one at the top of the picture.

Then we roll it up and insert the 2 roller bars into the holders, attached to wooden legs. Now mom can sit by the window and stitch as desired! That should keep her busy for a day or 2! This is about 80" x 100". Lots of stitches!

2 comments:
The quilt is really beautiful. Thanks for the explanation on how you matched the fabrics.
That looks fantastic! It's fun to watch it take shape.
Post a Comment